

We want you to know that this site is supported by our users. Some of the links you’ll find on our site are affiliate links, and if you make a purchase through those links, we may earn a commission at no extra cost to you. Thank you for your support – it’s what keeps us going!
Welcome to the world of port forwarding! In this guide, we’ll demystify the process of setting up port forwarding so you can harness the full power of your network. Whether you’re an aspiring gamer, a budding entrepreneur, or just a tech enthusiast, understanding port forwarding will open doors to exciting possibilities.
- Understanding Port Forwarding
- Reasons to Set Up Port Forwarding
- Preparing for Port Forwarding
- Accessing the Router's Configuration Interface
- How to Find and Access Your Router's Configuration Interface
- Locating the Port Forwarding Section
- Setting Up Port Forwarding
- Testing Port Forwarding
- Troubleshooting Tips
- Conclusion
Understanding Port Forwarding
If you’re reading this, you probably are asking yourself: what is port forwarding? Imagine your network as a bustling neighborhood, with devices communicating through virtual “doors” called ports. Port forwarding is like having your very own personal concierge, directing specific traffic to the right device or service within your network. It ensures smooth communication and eliminates the frustration of blocked connections.
Reasons to Set Up Port Forwarding
Hosting Game Servers
If you enjoy multiplayer gaming, setting up port forwarding allows you to host game servers, inviting friends or players from around the world to join and play together. Whether it’s Minecraft server port forwarding, PS5 port forwarding, or open NAT types you’re looking for, port forwarding is the solution.
Remote Access
Port forwarding enables remote access to devices within your network. It allows you to access your home security cameras, NAS (Network-Attached Storage), or other devices from anywhere, providing convenience and peace of mind.
Running Personal Servers
Whether it’s a web server, FTP server, or media server, port forwarding lets you run your own services and share content with others securely.
VoIP and Video Conferencing
Port forwarding is essential for ensuring reliable Voice over IP (VoIP) and video conferencing connections. It helps maintain clear and stable communication during calls and online meetings. This guide applies to Xfinity port forwarding as well as any other carriers.
File Sharing
If you use peer-to-peer (P2P) file-sharing applications, port forwarding is necessary to optimize your download and upload speeds, allowing for faster and more efficient sharing of files.
IoT Device Accessibility
Port forwarding allows you to access and control Internet of Things (IoT) devices, such as smart home automation systems or connected appliances, even when you’re away from home.
Online Collaboration
Port forwarding facilitates seamless online collaboration by enabling access to shared resources, like network printers or shared drives, among team members located in different places.
Gaming Console Optimization
Setting up port forwarding for gaming consoles like Xbox or PlayStation can improve online gaming performance, reduce latency, and ensure smoother multiplayer experiences.
Streaming Services
If you want to access media content stored on your network or stream content remotely, port forwarding enables reliable streaming to devices like smart TVs or media players.
Custom Network Configurations
Port forwarding offers flexibility to customize your network configurations based on specific needs and preferences, empowering you to fine-tune your network for optimal performance.
These are just a few examples of why someone might need to set up port forwarding. Depending on individual requirements and network setups, there can be various other scenarios where port forwarding becomes valuable.
Preparing for Port Forwarding
Before diving into the world of port forwarding, make sure you have a router and a static IP address for your device. It’s also handy to know your router model and firmware version, as the setup process may vary slightly depending on the device. If you need help accessing your router’s configuration interface to find your firmware version, read on below.
Accessing the Router’s Configuration Interface
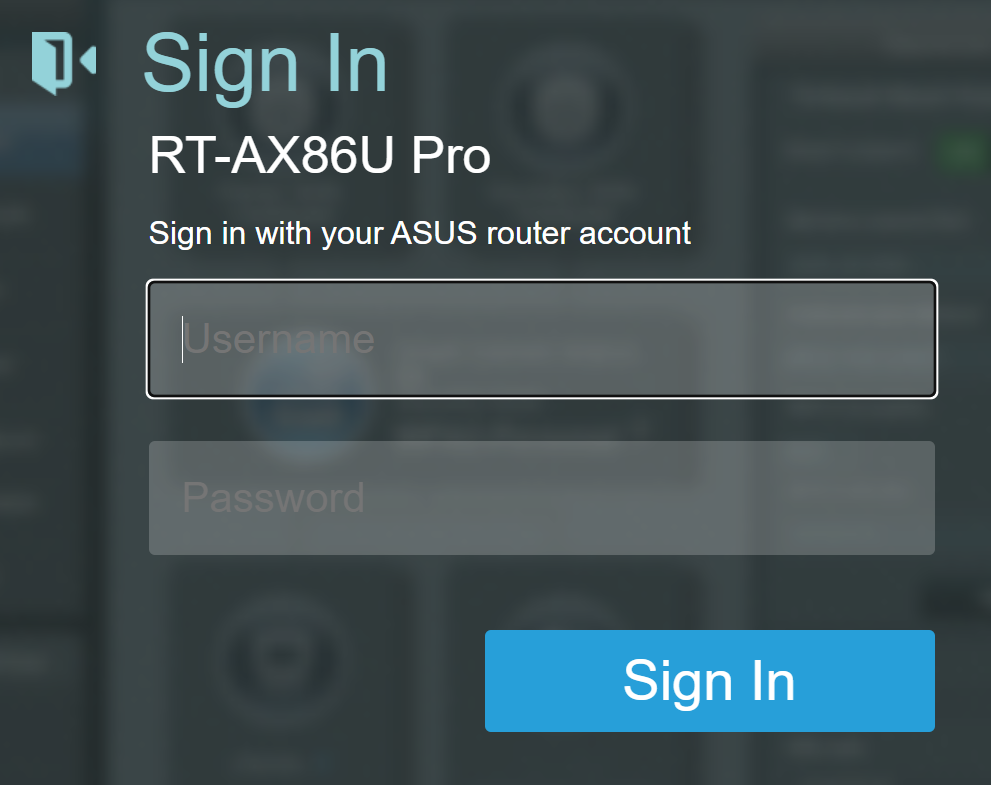
To set up port forwarding, we’ll need to access your router’s secret lair, known as the configuration interface. Don’t worry, it’s not as complicated as it sounds. Simply open your favorite web browser and type in the router’s IP address. If you’re unsure, we’ll show you how to find it. Oh, and don’t forget the router’s login credentials – the secret handshake to gain access.
How to Find and Access Your Router’s Configuration Interface
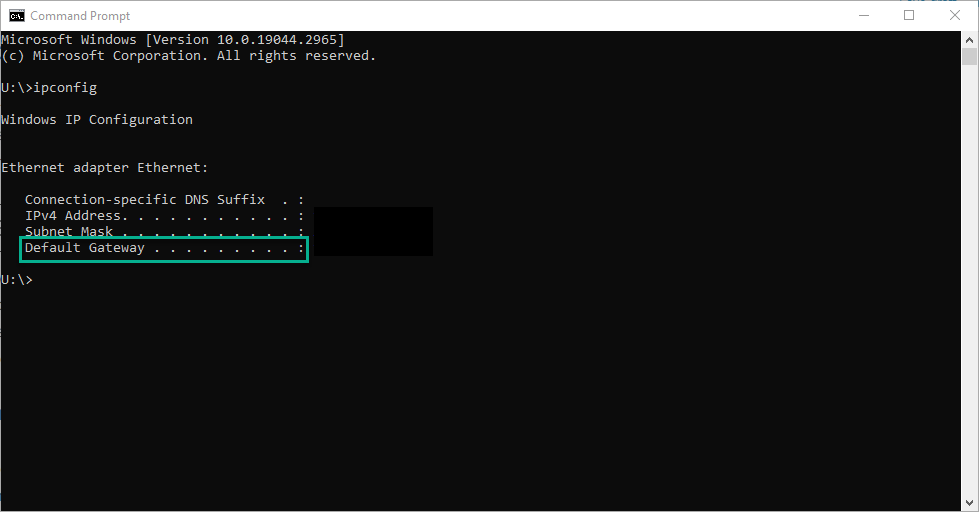
1. Determine the Router’s IP Address
- On a Windows computer, open the Command Prompt and type “ipconfig.” Look for the “Default Gateway” under your active network connection.
- On a Mac, go to the Apple menu, select “System Preferences,” then choose “Network.” Look for the router’s IP address next to “Router” or “Default Gateway.”
2. Open a Web Browser
Launch your preferred web browser (e.g., Chrome, Firefox, Safari) on a device connected to the same network as the router.
3. Enter the Router’s IP Address
In the address bar of your web browser, type the router’s IP address. It typically looks like “192.168.x.x” or “10.0.x.x,” depending on the router brand and model.
4. Enter Login Credentials
- Once you’ve entered the router’s IP address, you’ll be prompted to enter login credentials. These credentials are specific to your router and are different from your Wi-Fi password.
- If you haven’t changed the login credentials before, consult the router’s manual or try using common default login credentials. Common usernames are “admin” or “user,” and common passwords are “admin,” “password,” or left blank.
5. Accessing the Configuration Interface
- After successful authentication, you’ll gain access to the router’s configuration interface.
- The configuration interface may have a different appearance depending on the router brand and model, but it typically consists of various settings and options organized in a menu or tab structure.
6. Exploring the Configuration Interface
- Take some time to explore the different sections of the configuration interface. Common sections include “Wireless Settings,” “LAN Settings,” “Security,” “Port Forwarding,” or “Advanced Settings.”
- Be cautious while making changes in the configuration interface, as modifying certain settings without proper knowledge can affect your network’s functionality.
7. Keep the Login Credentials Secure
It’s essential to change the default login credentials for your router to maintain security. Look for an option to change the username and password within the configuration interface and set strong, unique credentials.
Locating the Port Forwarding Section
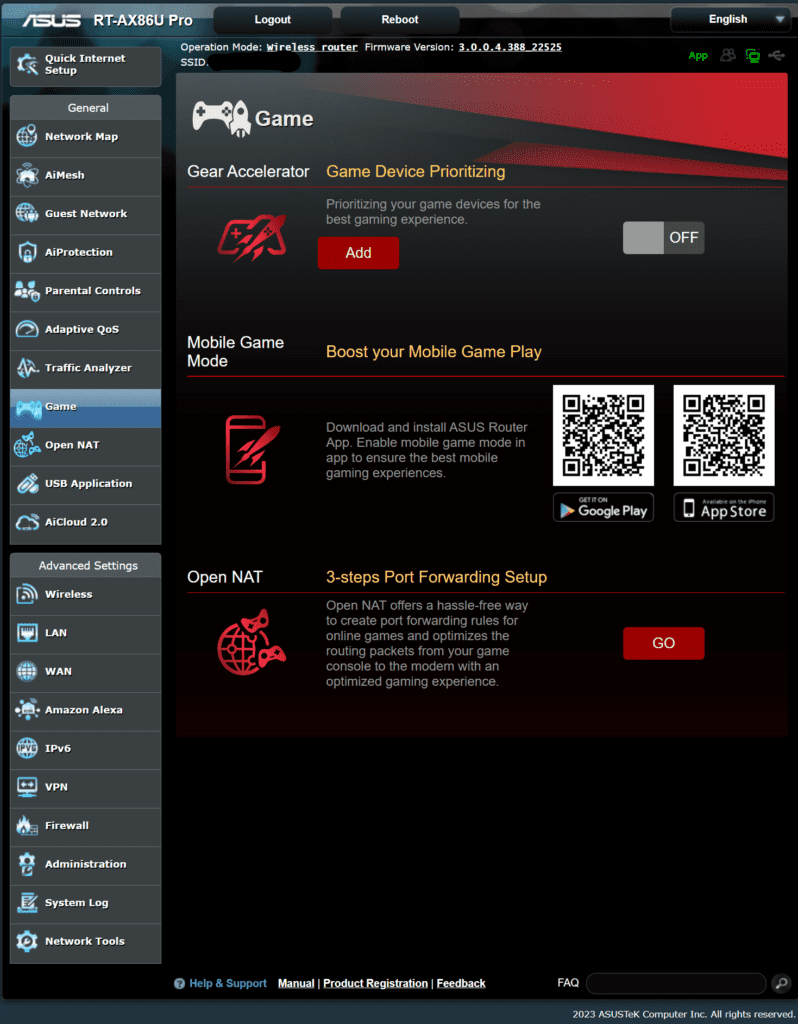
Once you’ve entered the router’s configuration interface, it’s time to put on your explorer hat and navigate to the port forwarding section. This may vary depending on your router’s interface, but look out for options like “Virtual Server,” “Port Forwarding,” or “Applications & Gaming.” We promise, it’s not as treacherous as a jungle expedition!
Setting Up Port Forwarding
Now comes the fun part! Adding a new port forwarding rule is like creating your very own VIP pass. You’ll need to specify the local IP address of the device you want to forward the traffic to, define the port range for the desired service, and choose the appropriate protocol (TCP or UDP). It’s like crafting a custom invitation that guarantees access to the party!
If you’re lucky, your router will have a simple wizard to walk you through setting up port forwarding, but if not you can follow the steps below:
1. Add a New Port Forwarding Rule
- Within the port forwarding section, look for an option to add a new rule or create a new port forwarding entry.
- Click on the “Add” or “Create” button to start configuring the new rule.
2. Define the Rule Details
Specify the details for the new port forwarding rule:
- Service/Application Name: Provide a descriptive name for the rule (e.g., “Minecraft server ports”).
- Protocol: Choose the appropriate protocol (TCP, UDP, or both) for the service or application you want to forward.
- External Port Range: Enter the range of ports to be forwarded from the internet side.
- Internal IP Address: Specify the IP address of the device within your network that will receive the forwarded traffic. For this, follow the steps from How to Find and Access Your Router’s Configuration Interface and use the “IPv4 address.”
- Internal Port: Enter the specific port on the internal device that should receive the forwarded traffic. Common examples include:
- Port 80 for HTTP (web server)
- Port 443 for HTTPS (secure web server)
- Port 22 for SSH (secure shell)
- Port 3389 for RDP (Remote Desktop Protocol)
- Port 25565 for Minecraft
3. Save and Apply the Rule
- Once you’ve entered the rule details, click on the “Save,” “Apply,” or similar button to save the new port forwarding rule.
- The router may require a restart or confirmation to apply the changes. Follow the prompts accordingly.
Testing Port Forwarding
Once you’ve set up your port forwarding rule, it’s time to put it to the test. There are handy online tools and software that can help you verify if your forwarded ports are accessible. Think of it as a “knock, knock” to ensure your doors are open and welcoming.
1. Determine the External IP Address:
- To test port forwarding, you need to know the external IP address of your network. This is the IP address that devices outside your local network use to connect to your network. There are several ways to find your external IP address:
2. Choose a Port Checking Tool:
- Numerous online tools can help you check the status of a specific port. Choose a reliable port checking tool to perform the test.
- One commonly used tool is “canyouseeme.org.” It allows you to check if a specific port on your external IP address is open and accessible.
3. Enter the Port and External IP Address:
- Open your preferred web browser and navigate to the chosen port checking tool’s website.
- In the provided field, enter the port number you forwarded in the port forwarding rule.
- Enter your external IP address in the designated field on the tool’s website.
4. Perform the Port Check:
- Click on the “Check” or “Test” button on the port checking tool’s website to initiate the test.
- The tool will attempt to connect to the specified port on your external IP address.
5. Interpret the Results:
- The port checking tool will display the test results, indicating whether the port is open or closed.
- If the port is open, it means the port forwarding is working correctly, and the forwarded traffic can reach the specified device within your network.
- If the port is closed or not accessible, it suggests a potential issue with the port forwarding configuration or other factors, such as firewall settings or internet service provider (ISP) restrictions.
Troubleshooting Tips
Sometimes, even the smoothest sailing can hit a few bumps. If you encounter any issues, fear not! We’ve got you covered. Double-check your IP addresses, ensure there are no conflicting rules, and make sure your firewall isn’t playing the role of a bouncer. With a little troubleshooting magic, you’ll be back on track in no time. Here are some reliable port forwarding troubleshooting steps to try:
1. Verify Port Forwarding Configuration
Double-check the configuration settings of the port forwarding rule in your router’s configuration interface. Ensure that you have correctly specified the external and internal port numbers, as well as the internal IP address of the device receiving the forwarded traffic.
2. Check Device Firewall Settings
Make sure that any firewalls or security software on the device receiving the forwarded traffic allow incoming connections on the specified port. Temporarily disable or adjust the firewall settings to test if it resolves the issue. Remember to re-enable the firewall after the troubleshooting process.
3. Review Router Firewall Settings
Check the firewall settings on your router. Some routers have built-in firewalls that may block incoming connections on certain ports. Look for any settings related to firewall rules or port blocking and ensure that the necessary ports are open or forwarded.
4. Restart the Router
Sometimes, restarting the router can resolve temporary issues and refresh the port forwarding settings. Power off the router, wait for a few seconds, and then power it back on. After the router reboots, perform the port check again to see if the issue is resolved.
5. Update Router Firmware
Outdated router firmware can sometimes cause compatibility issues or bugs. Check the manufacturer’s website for any available firmware updates for your router model. If an update is available, follow the instructions provided by the manufacturer to update the firmware. After the update, test the port forwarding again.
6. Check Internet Service Provider (ISP) Restrictions
Some ISPs impose restrictions or block certain ports to enhance security or control network traffic. Contact your ISP and inquire if they have any restrictions in place that might affect your port forwarding efforts. They may be able to provide guidance or make necessary adjustments on their end.
7. Consult Manufacturer Documentation and Support
If the troubleshooting steps above do not resolve the issue, refer to the documentation or online resources provided by the router manufacturer. They may have specific troubleshooting guides or support forums that address port forwarding issues for your particular router model.
Conclusion
Congratulations, you’ve mastered the art of port forwarding! By unlocking the full potential of your network, you can now embrace exciting opportunities like hosting game servers, accessing your home network remotely, or running your own services. So go forth, explore, and enjoy the boundless possibilities that port forwarding brings!
Remember, setting up port forwarding can be an adventure, but don’t hesitate to seek help from your internet service provider or tech-savvy friends if you need it. Happy forwarding!